Tuesday, November 26, 2019

Art Sales in my Studio


While my Holiday Art Sale is December 1, 2019 and today is November 26, 2019, I already have my sales Wall up and ready for the official sales date. I don't like to wait until the last minute to set things up. Frankly, this is the first official Art Sale in my studio which is nearing its 6-month anniversary in December so I was not sure how long it would take me to get things ready for the sale. 

You can see from the photo that I decided to use a Salon-Style approach to hanging about 70 pieces of art on ONE 20' long wall of my studio. I like the informal platform for showing the diverse art avenues I take in making art. Notice the "blank" white wall to the right at the corner. I decided to leave that blank so studio visitors can take "selfie" photos with their purchased art pieces. Or, they can pull a few pieces they like over to the wall to photograph side by side and send off to Instagram or Facebook or whatever social media platform to get instant feedback on the BEST one for that friend to purchase. It is a conceptual work in progress and I think I might call the wall the Photo Shop Wall - PSW - at Eileen's Back Yard Art Studio. I may need to create an official banner for them to stand under. 

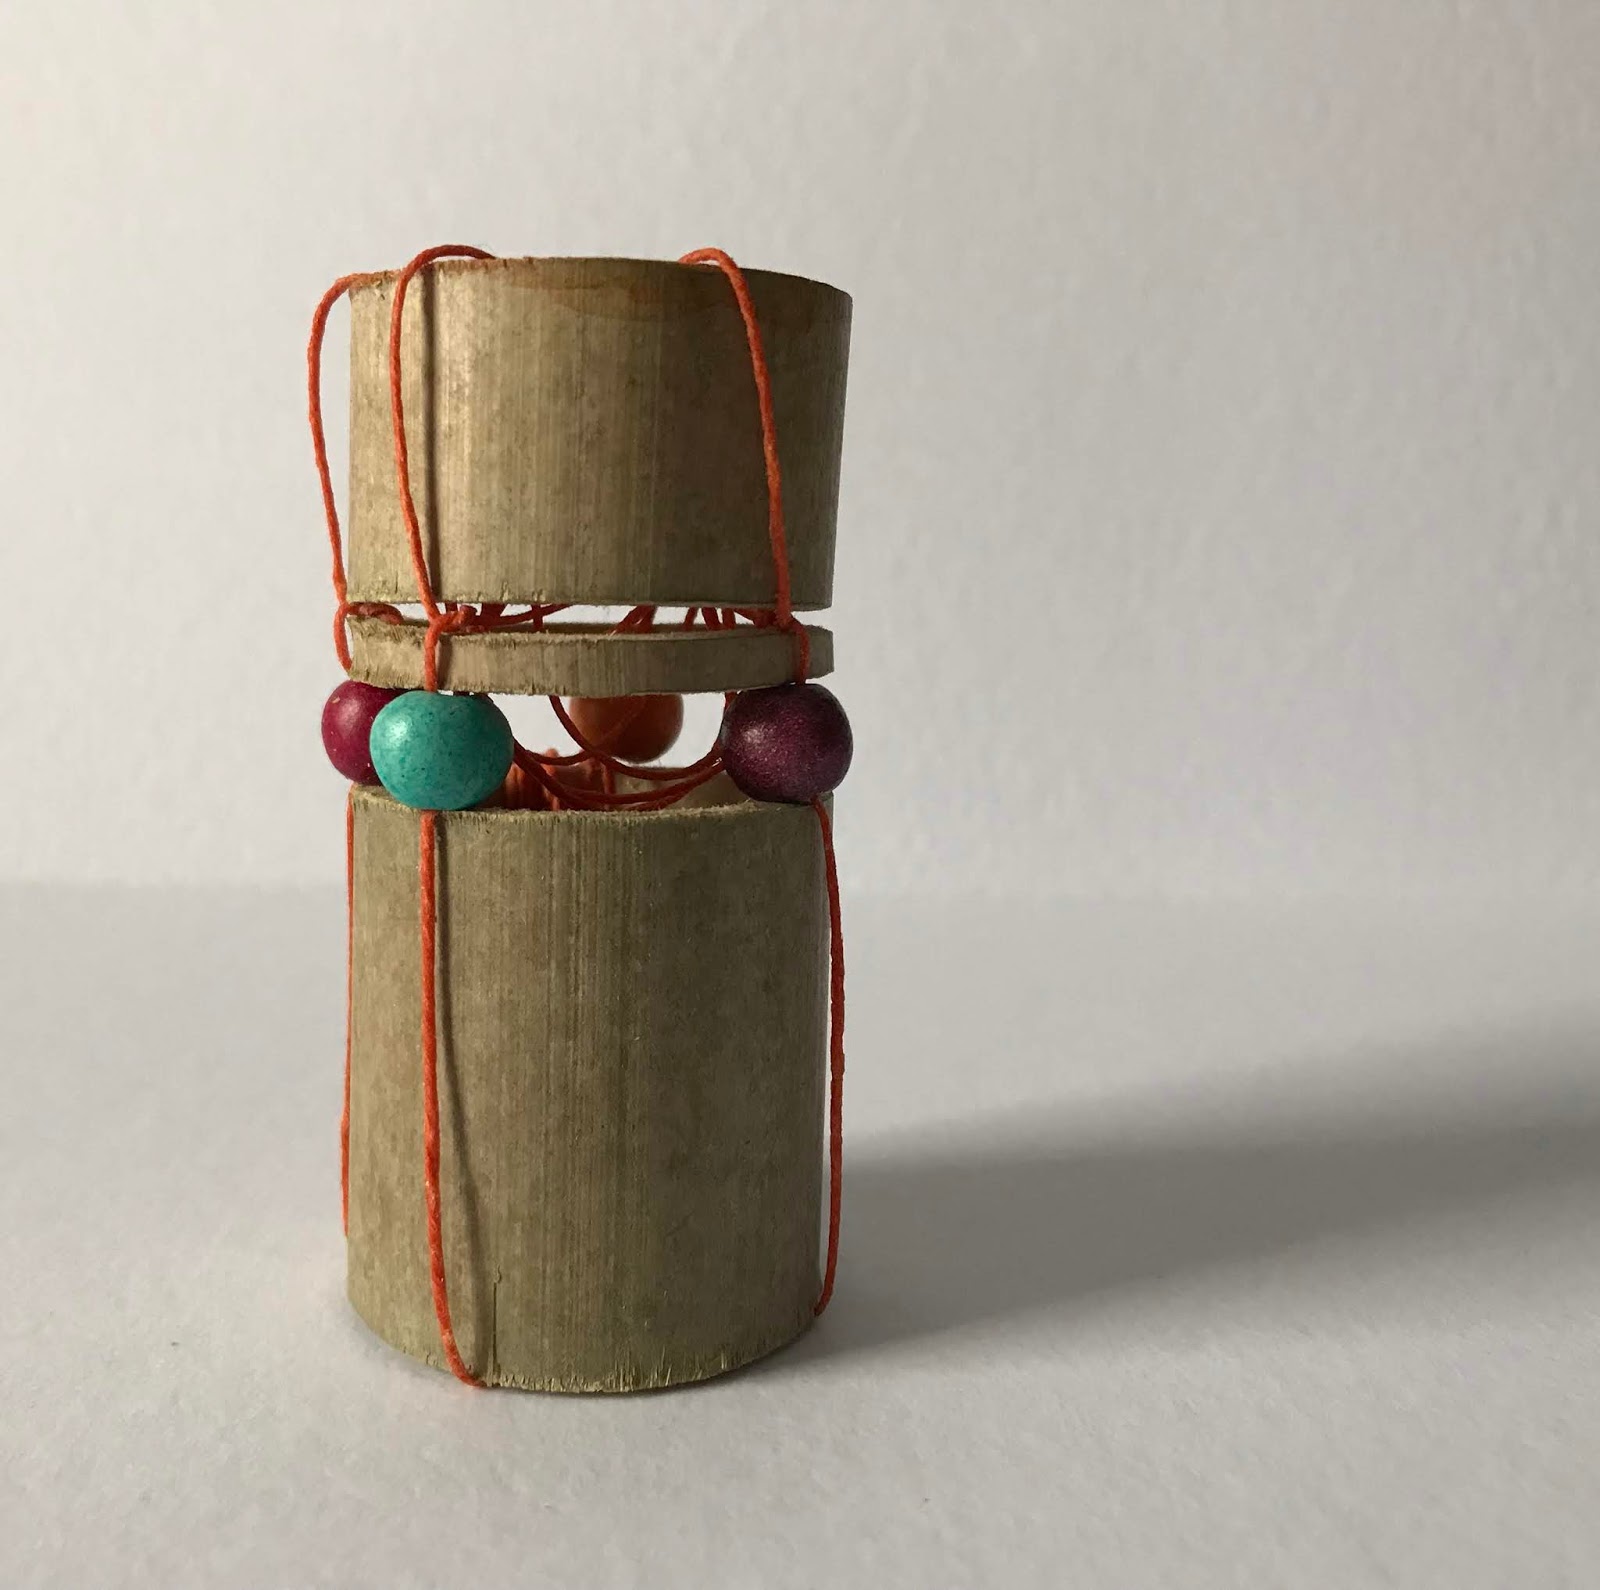
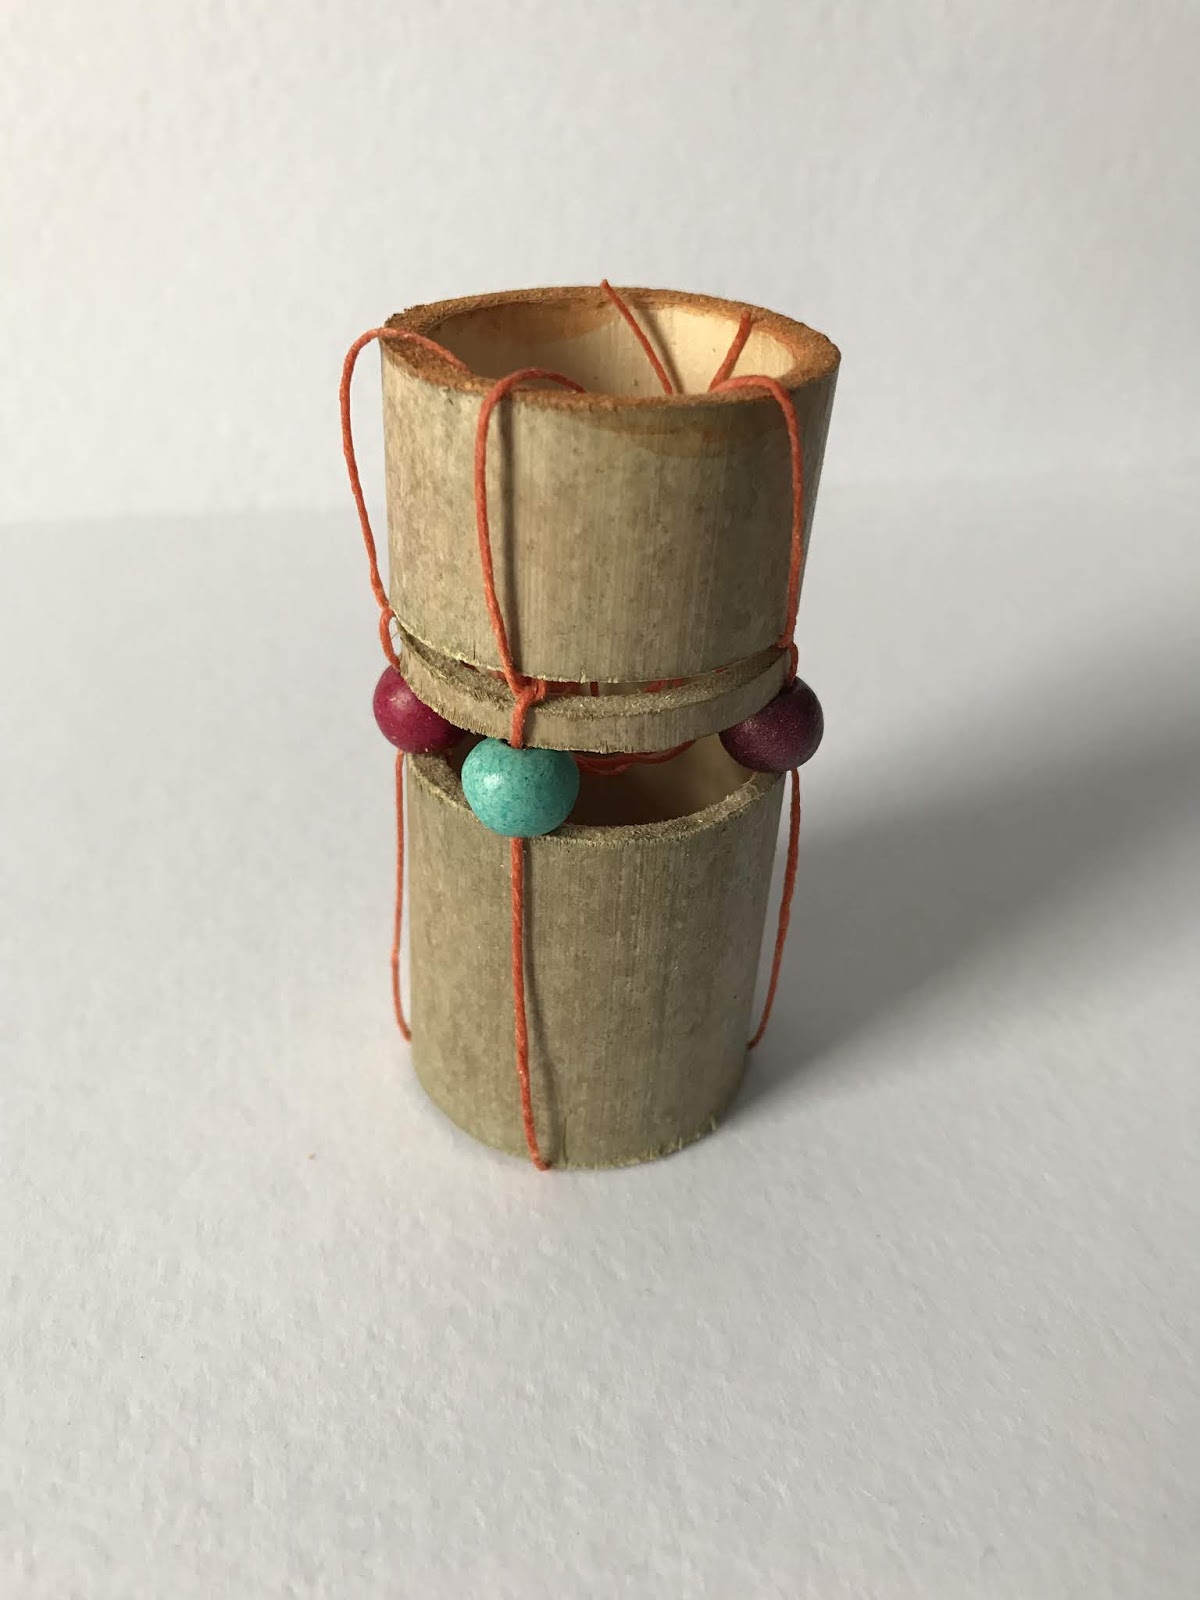
With the extra days I have until the Sales Event, I hope to get into our Back Yard Metal Arts Studio and kick out a few sculptures to put into the sale. I picked up some nice scrap metal from the curb in my neighborhood and at a Junk-to-Treasure type store for this purpose. I think there will be some fun things to do with those pieces. Come back next week to see what I cooked up and get a summary of the Sale.

Happy Thanksgiving to you all. Pull out that old Norman Rockwell painting of the Thanksgiving day turkey and feast your eye on my mother on the right side - a good looking, dark-haired teenager at age 16 sitting across from her father, my grandfather Charlie with the balding head of white hair. Always a tiny surprise when I see this painting posted by total strangers who of course love it, too, but for different holiday reasons. 


Tuesday, November 12, 2019

The business side of art making


I am back to my blog after a prolonged absence. 
I held an Open Studio Event in my Back Yard Studio (photo above) for 6 hours October 5, 2019. Lots of people showed up (I invited them!) and some purchased art. Yay! This event taught me to get more serious about 'selling' my art. 

So...I've been spending a lot more time lately learning how to focus on the 'business' side of art making. I want to share what I've learned with you. 

Here's what my step-by-step process looked like:

First, I learned I needed to create an Inventory of all of the artwork I have made and everything I make in the future. I selected my most recent work completed in the last 2 years. Recommendations are to create a sequential numbering system for each painting. I choose 2000 as my starting value and wrote the ID# on the back of all finished pieces and Works in Progress (WIPs). I created a spreadsheet to help me track my art. It includes: a thumbnail photo of the finished work for each ID # with categories such as the year the work was completed, the dimensions and characteristics of the work, the sales price, the date of purchase with the name of the person/entity who bought it, and some notes. It was easy to set up and updates are easy when everything is tied to the unique ID#. I will use the ID# on my sales receipt to speed the inventory recording process.

Second, I learned from my tax accountant and a consultant at my local arts organization that, given my artist's goals, I should apply for a business license for an LLC. It was surprisingly easy after gathering information from my State's agency handling business regulations. I received my e-LLC license 2 days after I applied. If you don't know the benefits of an artist's LLC, check out this helpful web page to learn more. 

Third, I opened a bank account using proof of my LLC license and handing over cash to start the account with income from my Oct 5 Open Studio sales. It took a little time for all the paperwork; but, the process was easy with those two important pieces to get it started.

Fourth, I created a spreadsheet to monitor my income and expenses. My tax accountant gave me a sheet of allowable categories for the IRS and State tax forms. I am very talented using Excel spreadsheets; but, I started to see problems ahead when I looked a "potential annual income" against "real expenses." I am working on this issue now, will probably figure it out sooner or later, but, I doubt I'll ever post on this topic again on this blog. 

I hope this has been helpful to you.  Please comment on this posting if you have questions, suggestions or want to describe your own experience with setting up a licensed Artist's business.

Tuesday, July 16, 2019

Series Work

Hello, Everyone. I am not in the studio today; but, I do have photos of progress on my 12" x 12" panel series. I haven't found a thread to hold it all together as a concept or color or design. I'm still working on that but not too hard.

Of the 6 panels I started several weeks ago, I believe 3 or finished. I will give you a little tour of the process these three took by starting with one.

In this first image, I was laying out shapes of different sizes and establishing some high contrast areas. I was not thinking about content or color and my application of paint was loose using whatever was on my palette. I believe at this stage, I imagined mountains in the background far in the distance at the top.


The next photo shows the painting after I applied an all-over orange-red glaze. Very bright in the mid-value range.


With everything at mid- to very dark value, I needed to bring back some light areas and I decided to make those larger in size:


With this version, I started to see green water and I stopped seeing the mountains. The triangles became boats and I added color to the edge of the large cocoon on the right and found the boat theme clearly coming forward. So I turned it around and emphasized a dark lagoon. Still very dark-ish orange.


I began to paint in some very light areas with a yellow gold azo transparent acrylic with white tint. This helped quite a bit...yet it felt pretty garish to me for a few days as I tried to figure out what to do next.

Eventually, I toned down the chartreuse green to indicate a burnt-grass environment around a boat harbor. I added the text on the yellow area but want to tone down that obvious addition. So the last version is what I came up with and called it done.
It still looks a bit muddy in the yellow area as a mid-value; but I had to allow the orange to stand out as a focus color. The very light and pale yellow along the edges of two boats and the round 'things' I hope create the kind of contrasts that draw the viewer's eye around the painting.

I will keep working on these boat images because they keep appearing without my calling them forward. Still not a consistent theme with the 6 boards though.

Comments? Please jump into the conversation about the process.

Have a great week.

Friday, July 5, 2019

First week of retirement

Friday, July 5, 2019
Monday, July 1, 2019 was my first day of retirement...or, what I prefer to call it "My Artist's Career Path"...from academics to a creative journey. It was remarkable smooth from Sunday to Monday and through the rest of the week. It could I feel like I am in an old 'vacation/holiday' mode; but my head, heart, and body are not fooled. I am in my Back Yard Studio every day.

The space in my new studio is so vast, I find I am adjusting my 'stuff' every day as I learn how to use it. Here is the heart of the studio - my work area:


There is an 8' long butcher-block work bench along the wall to the left in the second photo. So far, I find that is a great place to do some quick, 5-minute paintings to warm up for the work you see on the large wall space in the top photo. Here are some examples of where I put these quick painting 'sketches', i.e., in printing paper-sampler notebooks, a guide book for research security compliance, an old calendar notebook. Great places to make small art so quickly that you can't even plan for it. Just use anything to paint and glue anywhere!

 Printing paper Sampler Book

An old calendar of Georgia O'Keefe paintings

Academic Research Compliance Guide Book

Another Paper Sampler

Fun, inexpensive PLAY BOOKS. Right? I use gauche, acrylic, collage papers...You name it. Try it!!

I am also working on a series of 7 paintings; yesterday I brought one of them to completion. I'll show you that one and talk more about the series in upcoming blogs. I just want to get the word out today that I am retired and working full time as an ARTIST. Thank you very much!  😻

Sunday, March 17, 2019

Challenge Update

March 17, 2019 Sunday

OK...I cannot do it anymore. As you might have guessed from my last posting for Day 13, it was the beginning of my unlucky days of exhaustion from sitting in front of a computer working on tiny cells of numbers and letters in a spreadsheet of rows and rows and rows and rows of information (aka ‘data’). By the time I finished that project (Tuesday, March 12, 2019), I was convinced that I had no creative energy left in me AND that I still had a lot of analysis work to do on the dataset I’d just ‘cleaned’ for analysis. Mind you, I don’t mind working with data for analysis purposes. It’s part of my job-for-pay. But I usually take my weekends and parts of every weekday IN MY STUDIO!! and I had not done that for what felt like too long. I should not have been afraid that it was gone but yesterday was the first time back and here is what turned out was also on my mind...

SNOW still on the ground and melting...an early sign of spring.
This first one (above) is watercolor and gaouch on a small piece of paper...just playing around with the colors of snow.  

This one is a revision of a painting I’ve been working on since before the data cleaning project. I covered the whole thing with white paint (acrylic) and scrubbed and scrapped it back to reveal the colors underneath. Stepping back, I saw that I was still in the grip of SNOW but the signs of spring were showing through. Hopeful and subtly bright signs. 

I’ll keep working on this visual essay on spring but the 100-Day Challenge is DONE!!! I don’t feel that I failed; I just needed to take my creativity back into painting. Thanks for checking in.

Friday, March 1, 2019

Challenge Day 13

February 28, 2019 Thursday

This is an odd posting because it is a screen shot of a tiny section of a data project I am working on for my job. It has consumed me over the last week and shows sign of continuing for at least another week if not longer. How does it relate to this challenge??


Process and reflection: You have to stretch your thinking about this project’s qualifications for the challenge theme “A Stitch in Time”. I had to do that when I felt resentment creeping in because the project is taking me longer than I anticipated. 
The work goal is, basically, to merge any duplicated entry for a single person in an alphabetical list of several thousand individuals so that the final list shows all activities engaged in since 2015 in one line of ‘code’ for each person. I visually scan the list, row by row (no, I could not find a consistent pattern in my trial work to create an automated procedure), until I find duplicate/multiple lines for a unique individual that I often must verify by looking at all the entries, that the entries belong to one person not two or more with the same name. I must transpose information from ‘extra’ lines of information my merging - I’m calling it ‘stitching’! - the ‘timed’ activity entries made for that individual that are recorded for activities between January 1, 2015 through January 31, 2019. All yellow highlighted lines in the art photo above are the results of stitching multiple lines; lines not highlighted had only one entry. I delete the extraneously lines for those with multiple entries after I verify that all of the additional information is stitched into the one line.
The resulting data set will be used for several purposes: (1) a complete historical record of individuals and their activities engaged in within a nationally-funded program that has provided services, resource, training, mentoring, etc. over the period noted above; (2) a list of individuals and their email addresses that allow evaluation follow-up to learn whether the program services made a difference in advancing the participants’ scientific careers for a diverse target audience; (3) an analysis dataset for examining the statical descriptions of those who participated and correlates that information with other data collected about their scientific output (discoveries, funding success, publications of their work, etc) to determine whether the program services gave them an advantage over others who did not receive the services. 

So...the project is worthy and will be valuable when I complete it. It hasn’t felt ‘artistic’ in the least ... until I started picturing it in my mind as a stitching process related to a specific period of time. Whew! I told you you’d have to stretch your thinking about this challenge. 

I promise I won’t bring my for-pay work into this blog again.


Monday, February 25, 2019

Challenge Day 12

February 24, 2019 Sunday

Project Photo Day 1

Project Photo Day 7

Process: I took a simple sewing needle and common white cotton thread and stitched three ripe, blueberries together for a string of Indigo ‘jewels’ (thanks, Janet J, for that visual suggestion :-) ). I placed the final object on a piece of pure white Sintra (PVC) and photographed it (without ever moving the layout) daily for seven days to add the element of Real Time.

Challenge Level: 0

Lessons Learned: The berries did not deteriorate the way I thought they would. Day 7 looked not that much different than day 1 and the project felt more like “performance”—I was waiting for the object to perform.

Saturday, February 23, 2019

Challenge Day 11

February 23, 2019 Saturday


Process: I was getting ready to paint and noticed a piece of thin copper sheeting tacked to my studio wall. I suddenly decided I wanted to stitch into a sheet of the metal, then I thought of using wire to make the stitches, then that turned into a thought of selecting something from my found rusty metal objects stash, then I found a piece of black fine grit sandpaper. It fell together that quickly - 5 or 10 minutes of gathering the materials as my mind sped along. I stacked all the pieces together as you see in the photo, except I cropped out the larger copper sheet from the photo because it was not flat.
I used my metal awl to punch two holes through the sheets of metal and sandpaper after lining up the rusted wires to where I wanted to push them through. I studied the wire arrangement and made minor adjustment to show their best features. I took photos of the final artwork and chose the one that looked best—it’s all about the photos of our art work, isn’t it??

Challenge Level: 3

Lessons Learned: I learned not to give up on my ability to get spontaneous ideas even when I’d given up on today’s project and almost let myself ‘skip’ this day. TRUST myself.

Challenge Day 10

February 22, 2020 Friday


Process: I did not have much time today to make a complicated project; but, I selected an idea that came to me quickly and seemed easy and, as it turned out, was very complicated to carry out.
I have a bag full of bamboo disks cut up from one small-ish bamboo ‘tree’ I cut down in a small-ish bamboo forest behind the dining hall at Penland School of Art in North Carolina. I like that there are a variety of sizes to choose from. I selected 3 or 4 from the bag and found 4 wooden beads that I wanted to stitch into an assembly of wood and waxed cotton threads. I worked for about 30 minutes to carry out my idea before I abandoned it to get back to my big work (for pay) project. I eventually came back to my studio and decided that I had no more time to make something else. So...I photographed it as is.

Challenge Level: 10

Lessons Learned: I failed this project in part because I didn’t devote enough time to it and that is the first lesson. I also learned that it is ok to photograph the failed project—and post it!—because it chronicles the outcome to help me think of a better way to achieve what I invisioned. Don’t give up; sit with the idea and let it percolate for days and weeks even. I don’t need to resolve every project. They are meant to stimulate me over the long haul. The photograph is useful even as the projects sits on a shelf falling apart.

Thursday, February 21, 2019

Challenge Day 9

February 21, 2019 Thursday


Process: After retriving three lengths of dental floss I saw in the bathroom waste basket this morning, I walked into my studio looking for something to sew it into. I found some slightly abused and faded handmade paper that was folded in places that I wanted to keep to show how it has been shaped over the years. I folded it in half on the long end and in half again on the short side. I opened it up and laid out the dental floss threads on one side of the folded paper. I let them fall in the shape they wanted to fall into on the paper. I used an awl to punch holes along the strand edges to keep the natural shapes. I then took each strand, one at a time, and threaded it into a sewing needle and followed the pattern of holes; I did not knot them on either end. Because I was working on a big dataset for work and needed lots of breaks, I stitched the floss strands one at a time throughout the day. I can see the end product as the cover for a book I could make in the future...although, that is a stitching project I could count for my 100-Days. Right?

Challenge Level: 2


Lessons Learned: I learned that I fairly easily see uses for ordinary things that others might not think of. I’d thought about using discarded dental floss in my artwork before, but had not put my mind into it until I thought of the strands as threads and, because of the thick-thin nature of this particular brand of floss was so appealing, I could imagine the sewn-in floss acting like marks on paper rather than stitches. That is why I put the holes so close together when I made this, so they look like marching ants across the page and the natural-looking path was not my doing so much as it was the will of the strands of floss. They have been elevated into art. 

Wednesday, February 20, 2019

Challenge Day 8

February 20, 2019 Wednesday


Process: I used 5 Pure Leaf tea bags and stitched them to a bamboo stick so they would dangle from the thread I used to create a row without actually stitching into the tags or bags. I kept it simple in design and color choices. I hung it in my studio window to photograph and found the back lighting pretty intense against the snowy outdoor landscape.

Challenge Level: 3

Lessons Learned: I wanted to use these tea bags saved over several months beginning in 2018. I wanted to honor their shape and clever design - for a tea bag. Hanging them ‘out to dry’ (they were already dried out at my office) on a bamboo stick hanging by tape at my studio window with the snow storm raging in the background (which also shows my new WIP studio) was a great way to keep this project in my focus so I can do something more permanent and BIG ... later. It was a fun and somewhat challenging project.

Tuesday, February 19, 2019

Challenge Day 7

February 19, 2019 Tuesday


Process: I laid all of the bags of ties out on my work table and played with them for awhile. There were various sizes and thicknesses. I took a box of fiber washers out from my stash when I realized I needed some structure to give the ties some shape. My first attempt with both ties and washers did not work. I started again with two large black zip ties with ridges. I tied them together and started using small white ties to reinforce the black loops I created. Once I started that, I began to see how I could make a spiky pattern that created a dinosaur-like backbone with the tales of the ties oriented outside of the loop. I continued that pattern of applying zip ties most of the way around and cutting every third tie shorter than the full length. I came to a place in the loops where they were too far apart to force them together. The structure was already stable so I decided to tie a fiber washer to bridge the two loops similar to a fish eye. I liked it. Done after about 1.5 hours. It will go quicker now that I learned how to control the way I use them.

Challenge Level: 7 and fun when I got up to speed with the process

Lessons Learned: When learning something knew about a common object like zip ties, you have to be willing to sacrifice the objects while you experiment and fail and fail until you figure out how to give them a long-lasting artistic life. Give the process time and look for ways to make simple patterns and repetition until you discover the key to success. Also, you cannot re-use zip ties because you cannot take them apart once they are zipped shut.

Monday, February 18, 2019

Challenge Day 6

February 18, 2019 Monday


Process. OMG. I could not feel the hair in my hand, could not see it going through the eye of the needle, could not judge whether the hair was going through the lint ball or, if it was, had I pulled it all through to the other side?


I got this hair-brained idea when I pulled out all of the long hair stuck in my hair brush last night and saw how much had escaped and fallen to the white-ish tile floor. I couldn’t see it on the floor; but it had been accumulating. I’d also saved Sunday’s clothes dryer lint to “do something cool” with it for one of my Challenges. The idea to combine the two “ordinary” objects for today’s challenge came to me around 3am this morning; I decided to wait until after work to create it. Yes, now I am sipping on a much-needed glass of wine.

Challenge Level: 8, it was darn hard enough physically to qualify for this rating

Lessons Learned: Don’t ever try again to thread my long, baby-fine, white hair into a teeny, tiny needle, especially when everything is on a light colored or white surface.
Dryer lint already picks up a lot of the household hair but it tangles it enough so it stays inside the lint sheet/ball with the ends sticking up and out. I didn’t need to stitch anymore in there.
Projects like this one are not worth the effort. The cat will find it and chase it all over the hardwood floors!
A single hair from your head is different on one end than the other end—one end is probably the split and there is a definite advantage to using that end to thread the needle.

Sunday, February 17, 2019

Challenge Day 5

February 17, 2019 Sunday

I am starting with a detail shot because it is the focus of this challenge: stitches in time.

Process: After selecting a rag from the rag bag that was just increased with a contribution of underware, I chose a simple, classic white pair of women’s panties. I spent 15 minutes or so looking and thinking about what I wanted to do with the object and stitches that I could take just about anywhere to turn it into an art project worthy of this challenge.

Seeing the stained crotch, I eventually decided not to shrink from it and find, instead, a way to elevate it for today’s project. I found in my thread box some red and pinkish red thread that would surely draw viewer’s attention and reactions. I created basting stitches on which I could weave the red threads similar to the way I approached the Day 2 project’s bundle band weaving. The process brought up a lot of memories, unexpected feelings and thoughts, and scenes from recent documentaries and movies I watched this past week. I wrote about this reaction in a private journal documenting this project (I need to think about why these thoughts needed to be private) and I concluded that today’s project feels more like “conceptual art” to me.


Challenge Level: 9, for the challenge it presented to my zone of comfort knowing that I committed to publicly posting my day’s challenge work.

Lessons Learned: I have a bit of an aversion to making and/or publicly displaying conceptual art that is so personal. What is the reason why I created something so personally challenging so soon in a 100-day challenge? I am glad I persisted and let go of my “inner critic talk” to keep the project going, allowing my instincts to take me where it may. 

Challenge Day 4

February 16, 2019 Saturday


Inspiration. I have hundreds of these disposable paper funnels. Don’t ask why; I ‘should’ use them.

Process: I took two of these paper cones and used a wooden shishkebob stick to punch holes that I imagined I could create a ‘nice’ pattern. I punched randomly, then selected—with some thought but not much—a skein of yellow and one of blue embroidery thread from my stash. I found a needle with an eye big enough to accept the end of the thread and started the continuous blue line you see across the bottom. I followed that with a yellow line, which quickly showed me that the shape of the cone  was going to severely restrict my access as it narrowed. Hmmm. You can see from the photo that I did whatever I could to get some stitch treatment at the narrow end. A disaster; but, the challenge included, for me at least, a learning component and I was learning. 

When I used all of the pre-punched holes, I was glad to quit and to take the second cone to use as a ‘lining’. At least I’d anticipated the need to cover or protect the knots I made on the inside of the top cone. I used an easy stitch to pull the rolled edges of the large opening of the two funnel cones together, which worked to strengthen the whole project in terms of handling as an art object. 

Challenge level: 7, because of the difficulty in sewing (or embroidering) in a narrow, tube-like space.

Lessons learned: Come up with a plan before you start punching holes in a pre-formed paper cup, especially if you are going to use a needle to decorate the cup with thread. Don’t give up; keep trying new strategies (if it seems worthy of your time). Come up with a different project for using an over- abundance of something or give it away/sell it!!!


Saturday, February 16, 2019

Challenge Day 3

February 15, 2019. Friday.


Process: I’ve been looking for ways to use fabric to create 3-dimensional art. I am a mixed media artist, after all. This piece was created when I found a piece of painted canvas in my cast-off artwork box (or the pile of work that I intend to go back to and ‘fix’ them to be something ‘more’). A rough idea was forming in my head and I grabbed a pair of scissors and started cutting the canvas up in strips in various widths. The strips were curling on the long edges and an idea formed to cut some of the strips into small rectangular shapes. The curl of those pieces on the painted side of the canvas placed on the back side of the curled canvas made an interesting 3-D ‘sculpture’ of the 2-D flat painting. I liked that and I laid the small piece along one of the long strips totem-style. I cut the ‘background’ piece to a shorter length then cut a thin strip of the standard length as a binding to hold everything together in one package. I decided to use red waxed thread and an awl to create ties for each rectangle and let the ends be the approximate width of the whole assemblage. I took the extra length of the binding strip, folded it back, sewed it to the background canvas as a ‘tab’ for hanging, and called it done.

Challenge Level: 5, mostly because stitching through three layers of painted canvas turned out to be harder than I expected—the canvas was stiff.

Lessons Learned: Stiff canvas assemblages are not as appealing to me since I had imagined a softer, more ‘used and abused’ medium to work with. I like the light on the piece from the setting sun when I photographed the piece because it exaggerates the sculptural contours of the work.

Detail photo:


Challenge Day 2

February 14, 2019. Valentine’s Day.


Process: Perhaps inspired by the way 12 roses are bundled for gifting, I found the next best thing in a bag tucked under my art work table—dried bamboo shoots (use your imagination). I selected a spool of orange and one of beige waxed threads and used the orange to wrap small bundles of sticks, stems, shoots or whatever you want to call them. I added small bundles while I continued wrapping with the orange thread until all of them were together as shown in the photo above. 
To get to the ‘stitching’ part of the challenge, I used the beige waxed thread to weave through the threads that then looked like a ring or a continues band around the sticks. I did not plan it this way; I let the object and the process tell me where to go next. I tried different types of needles to push the thread into the band and pull it out. The bundle was more tightly secured than I thought it was while wrapping everything together. I gathered the ends of orange threads into the weaving. When I completed the weaving completely around the band, I stepped back and saw how sloppy it looked and I checked my tolerance level (my inner critic) and decided it was ok. Here is a detailed photo of the waxed thread band:

Challenge level: 7

Lessons learned: Accept imperfections as a factor of low skill level and inexperience. Allow the feeling of being a beginner as a time to explore the possibilities. 


Challenge Day 1

Here is where I started February 13, 2019.


Process: Leaving just 30 minutes before I had to attend a conference call, I popped into my studio space and looked through my paper scrap box and picked a couple pieces of paper that I thought looked good together. I grabbed a spool of waxed cotton thread in a color I felt worked well with the colors on the papers. I moved the papers into different configurations until I found exactly what I liked the most. The clock was ticking and I had to move quickly. Needle. Thread through the eye. Decision to use the dots on the blue paper as the points of stitching through the three layers of paper. 
Up, down, over, tie it together in the front. Done. I had enough time to photograph the piece and post it on Instagram (Eileen.Harwood.Artist) to announce my Challenge to the Insta-World. 

Challenge level: 0   (0 to 10 scale where 10 is MOST challenging) 

Lesson learned: Allow a little more time; but don’t forget the powerful and creative sponteneity that comes from a playful approach. 


Checking in

It has been awhile - 3 years! - since I accessed this blog. I’ve forgotten how to be an interesting writer to an audience of total strangers. I have been busy making art while I keep my full time job going. I am happy to tell you that I have just 4 1/2 months left before my retirement date June 30, 2019. Waiting for me at that time or a little earlier is a new studio built to my specification in my backyard. It is 20’ x 20’ square (400 sq ft of open space), framed, roofed, insulated and now being wired for lights and switches. It is a slow process since my spouse is doing most of the work and juggling jobs she gets from her self-employment businesses.

This week I spontaneously decided to set up a 100-day art challenge to keep me busy making art and not thinking about how much I want to move my current spare bedroom studio ‘stuff’ into my new space. I am calling the challenge a Stitch in Time and I have 3 pieces of art made - 1 a day. I can see that the challenge is definitely going to push me out of my comfort zone and likely inspire me to move back and forth between comfort and discomfort. I’d like to use this blog spot to post each day’s work and say something about some or most of the pieces. So, I hope you come back and comment or start a conversation with me. I’m much better when I interact with my audience.

Here is a teaser.